Recently, we were doing a Facebook campaign for a webinar and we wanted to make sure which ads were resulting in optins and which ones weren’t. To measure that, we wanted to use analytics and UTM tags to track traffic.
If all that sounds a little jargon-y and complicated, that's normal. Bear with me though… it’s actually quite simple.
This whole process is just a way to track which traffic source brought the visitor to our site. In other words, we're answering “Where did my visitor come from?”
In this example, we’re trying to track how much traffic our social media efforts–Facebook specifically–are sending to one of our Digital Marketing This Week posts. All I have to do is add a “UTM tag” to our the destination URL so that Google Analytics can see those tags and give me a report.
To Get Started…
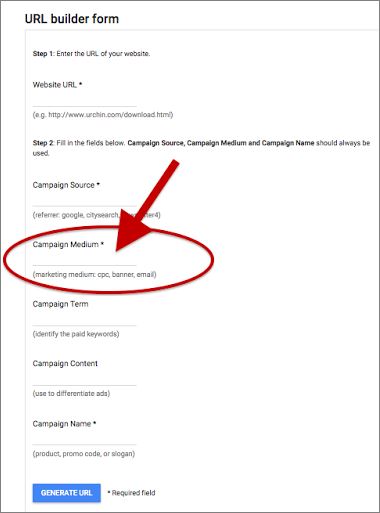
You can add UTM's manually, but if you're just starting out, it's easier to start with a guide. Try using Google’s URL Builder, which you can find here.
Scroll down to find the URL Builder form…
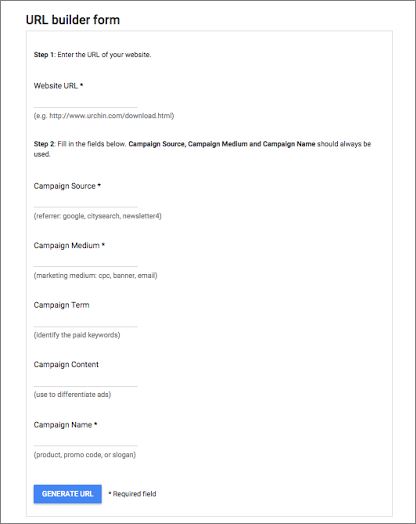
Step 1:
Type in the URL of the page that you want your users to land on.
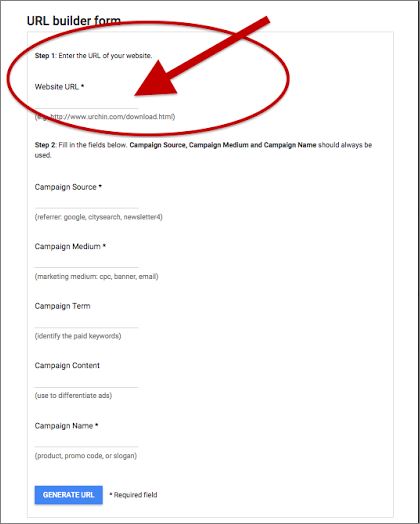
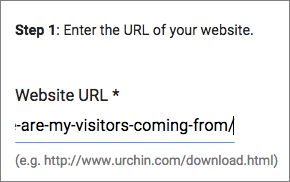
In this case, I want to send users to my Digital Marketing This Week Video when they click on the link: http://seriouslysimplemarketing.com/digital-marketing-this-week-episode-19-where-are-my-visitors-coming-from/.
Step 2:
Identify where the traffic is coming from by filling in campaign SOURCE.
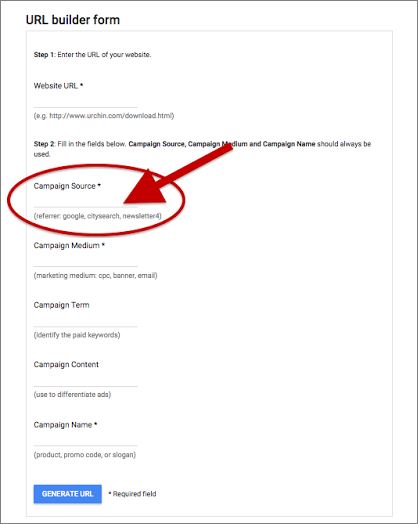
Because I want anyone who is using the link I'm using to be tagged as coming from Facebook, I'l going to enter “facebook” here. (HINT: It's helpful to keep everything lowercase as Google Analytics is case sensitive.)
Step 3:
Identify which medium the link was shared in.
We tag all our paid traffic as “cpc” (stands for cost-per-click). So we'll enter cpc here.
Ready for the Next Step?
Download the Google Analytics Score Card and quickly know what dritical data you may be missing.
Click Here to Get the Google Analytics Performance Report Card
Step 4:
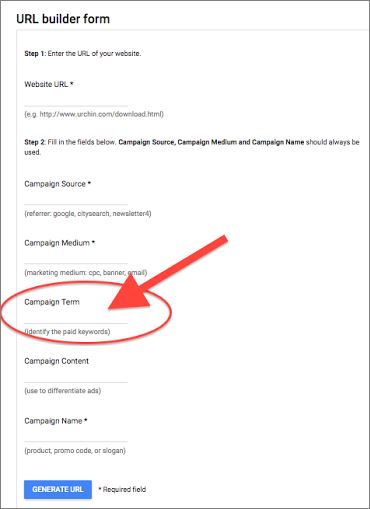
Identify the campaign term. This is actually an optional step, but I recommend you take advantage of it. In our case, we put the headline of the ad or post we are promoting.
In this example we'll call it, “check-out-digital-marketing-this-week”.
Step 5:
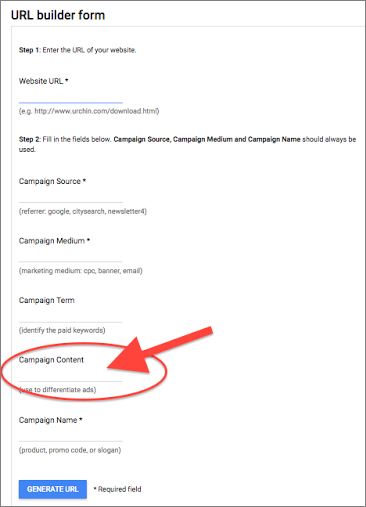
Entering a value for content is also optional… and also highly recommended to take advantage of. We use it for additional details about the ad or offer. In this case, we'll tag it as “where-do-they-come-from” since this particular post is about that.
Step 6:
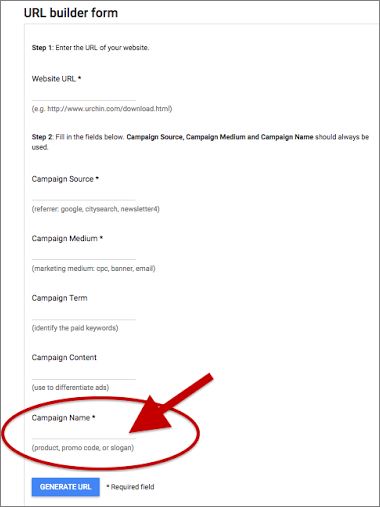
Now we're at the final (and required) last step. The actual Campaign tag. We use this to tag the product or service. In our case, since we're using this to drive blog traffic, we'll just call it “blog”.
Step 7:
Click the SUBMIT button to generate your URL!
Remember: Anyone that clicks on that link you created will be tagged with those particular tags, so you'll want to create new UTM tags for each of your traffic sources.
For our example, the URL would now go from this (no UTM tags):
Digital Marketing This Week: Episode 19 – Google Analytics: Where Are My Visitors Coming From?
To this (with UTM tags):
Digital Marketing This Week: Episode 19 – Google Analytics: Where Are My Visitors Coming From?
Now all I would have to do is copy the “tagged” version of the link and paste that into Facebook as the destination link I want to promote!
As always, if you have any questions, just leave me a message in the comment section below. And if you found this post helpful or know anyone who’s trying to figure out how to use UTM tags, be sure to hit those share buttons!
– Mercer
PS: We built our our Traffic Tracking Tool that makes setting up UTM's a breeze. Recently we decided to make this tool public. Interested? Click here to get your free Traffic Tracking Tool.

